This guide is for those who want to create a game using only JavaScript, without using game engines or libraries.
This is for people who:
Want to make a game but don’t know where to start.
Want to create a simple game without the hassle of using Unity or Unreal Engine.
This guide is aimed at those who already have some programming knowledge.
What We’ll Create
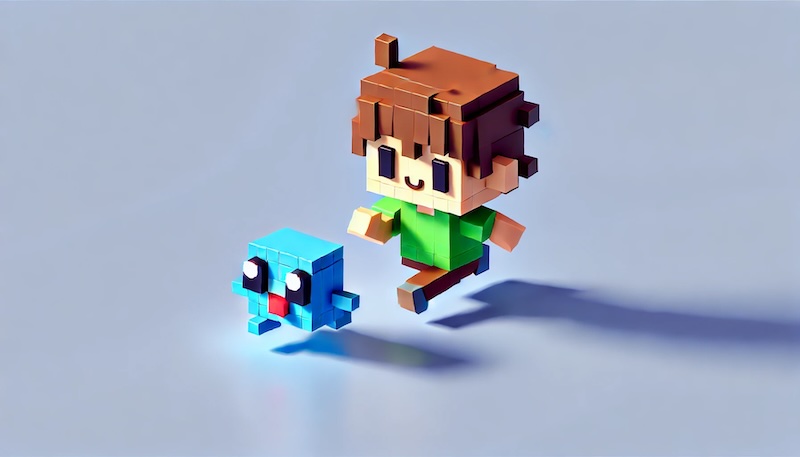
In preparation for the next game, I’ll organize everything I’ve done so far and make a template for a 2D pixel art game where the characters can animate and move around.
Even a simple, functional program can serve as a great starting point when you want to quickly and easily make a game.
We’ll also clean up how we manage sprite sheets from previous games and include our improvements for gamepad support.
The character moves up, down, left, and right.
Keyboard: i … up, m … down, j … left, l … right
It also supports up, down, left, and right on the gamepad.
Source Code
Here’s the file structure. There are a lot of files, but the source code is only about 500 lines, so it’s not that much.
.
├── Chara.js
├── SpriteSheet.js
├── UserInput.js
├── World.js
├── index.html
├── index.js
└── spritesheet.png
Managing the Sprite Sheet
A sprite sheet is a single PNG file that collects NxN sprites (pixel art). So far, I’ve only used 8×8 sprites, but I want to prepare for the future by making it possible to handle various sizes like 16×16 or 16×24.
Having different sprite sizes in one sprite sheet can be tricky, so each sprite sheet only has one size of sprite(e.g., 8×8 or 16×16).
I’ll make it possible to treat sprite sheets as JavaScript objects and draw any sprite by specifying its number. Specifically, I’ll create a SpriteSheet class. Here’s how it works:
When you specify the sprite size (width, height) and PNG file name in the constructor, an object is created. Then, you can use it like this:
const spsheet = new SpriteSheet(8, 8, "./spritesheet.png");
spsheet.drawSprite(context_bg, sprite_no, x, y, flip);
Following is the source code of class SpriteSheet.
export class SpriteSheet {
    constructor(spr_w, spr_h, png_file) {
        this.sprite_w = spr_w;
        this.sprite_h = spr_h;
        this.image_loaded = false;

        // load the sprite sheet
        this.image = new Image();
        this.image.src = png_file;
        this.onDecoded = this.onDecoded.bind(this);
        this.image.decode()
            .then( this.onDecoded )
            .catch((error) => { console.error("failed to decode", erro); });
    }

    onDecoded() {
        this.columns = Math.floor(this.image.width / this.sprite_w);
        this.image_loaded = true;
    }

    drawSprite(context, sprite_no, x, y, flip=false) {
        if (!this.image_loaded)
            return;

        const sw = this.sprite_w;
        const sh = this.sprite_h;
        const sx = (sprite_no % this.columns) * sw;
        const sy = Math.floor(sprite_no / this.columns) * sh;
        if (flip) {
            context.save();
            context.scale(-1,1);
            context.drawImage(this.image, sx, sy, sw, sh, -x-sw, y, sw, sh);
            context.restore();
        } else {
            context.drawImage(this.image, sx, sy, sw, sh, x, y, sw, sh);
        }
    }
}
The size of the sprite sheet is obtained from the image information of the loaded PNG file. With the sprite width (spr_w) and height (spr_h) provided to the constructor, we can calculate how many rows and columns the sprite sheet has.
The numbering of sprites follows the rule shown in the example below.

For a sprite sheet with 8 sprites in a row, numbering starts from the top-left corner and proceeds like this: 0, 1, 2, …, until the right end. Then it continues from the left end of the next row.
You can have any number of rows and columns. For instance, 16 columns and 1 row would work just fine.
Managing Input Events
In a previous article, we handled gamepad input events from the web browser.
We created a GamePad class, allowing us to receive events triggered when a button is pressed or released, similar to keyboard events.
let gamepad = new GamePad(0); // Create an object for the first gamepad (index 0)

// Register the event handler for when a button is pressed
gamepad.addEventListener("pressed", btnDownHandler);

// Register the event handler for when a button is released
gamepad.addEventListener("released", btnUpHandler);
For the keyboard, the input is the key (like ‘a’, ‘b’, ‘c’, …), whereas for the gamepad, it’s the button number (0, 1, 2, …). It’s not ideal to have to handle both every time, so we want to consolidate the inputs.
That’s why we’re going to create a UserInput class to manage both keyboard and gamepad events. Here’s the implementation:
const keyMap = {
    'j': 'left',
    'l': 'right',
    'i': 'up',
    'm': 'down',
    'c': 'A',
    'x': 'Y',
    'r': 'reset',
    's': 'start',
}

const btnMap = {
    0: 'B',
    1: 'A',
    2: 'Y',
    3: 'X',
    8: 'reset',
    9: 'start',
    12: 'up',
    13: 'down',
    14: 'left',
    15: 'right',
}
・・・・
let gamepad = new GamePad(0);

export class UserInput {
    constructor(doc) {
        this.up = false;
        this.down = false;
        this.left = false;
        this.right = false;
        this.A = false;
        this.B = false;
        this.reset = false;
        this.start = false;
        this.prev_pressed = null;
        this.available_inputs = Object.values(keyMap);

        this.keyDownHandler = this.keyDownHandler.bind(this);
        this.keyUpHandler = this.keyUpHandler.bind(this);
        this.btnDownHandler = this.btnDownHandler.bind(this);
        this.btnUpHandler = this.btnUpHandler.bind(this);

        doc.addEventListener('keydown', this.keyDownHandler, false);
        doc.addEventListener('keyup', this.keyUpHandler, false);

        gamepad.addEventListener("pressed", this.btnDownHandler);
        gamepad.addEventListener("released", this.btnUpHandler);
    }

    clearInputs() {
        for (let prop of Object.values(keyMap)) {
            this[prop] = false;
        }
    }

    set_key_input(key, val) {
        const prop = keyMap[key];
        if (this.available_inputs.includes(prop)) {
            this[prop] = val;
        }
    }

    set_btn_input(index, val) {
        const prop = btnMap[index];
        if (this.available_inputs.includes(prop)) {
            this[prop] = val;
        }
    }

    setInputFilter(list) {
        if (list==null)
            list = Object.values(keyMap);
        this.available_inputs = list;
    }

    keyDownHandler(event) {
        this.set_key_input(event.key, true);
    }

    keyUpHandler(event) {
        this.set_key_input(event.key, false);
    }

    btnDownHandler(event) {
        this.set_btn_input(event.index, true);
    }

    btnUpHandler(event) {
        this.set_btn_input(event.index, false);
    }
}
The UserInput class defines properties like up, down, left, right, A, B, and it updates them based on keyboard and gamepad input.
Following is the usage:
// Pass the document object to create an instance.
export const input = new UserInput(document);

・・・
// Determine the input state at any point. (This reflects both keyboard and gamepad states)
if (input.left) {
 ・・・
}
if (input.right) {
 ・・・
}
if (input.up) {
 ・・・
}
if (input.down) {
 ・・・
}
Character Animation
The basic logic is the same as in my previous explanation. You can check that article for more details.
Summary
To prepare for the next game, I’ve organized what I’ve done so far and created a template for a 2D pixel art game with character animations.
I’ve also improved the management of sprite sheets and input events, which I’ve explained here.
Next, I want to try making a classic puzzle game from the 1980s!
